Your Cart
Your cart is empty!
Subtotal
$0.00
Shipping, taxes and discounts will be calculated at checkout.
To The Cloud Vapor Store
To The Cloud
To the Cloud Vapor Store | The World's Best Vaporizers | New & Used | Trials, Exchanges & Buybacks
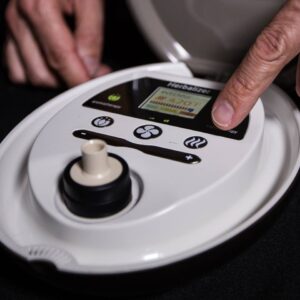
20% Off Storz & Bickel Vaporizers | CODE S&B20
Designed by a former Apple Product Design Engineer, it’s no surprise Firefly makes a a beautiful vaporizer with its’ aesthetics unmatched only by its great flavor. The Firefly 2 is also one of the easiest vaporizers on the market to clean, but if not deep cleaned regularly the Firefly 2’s performance will suffer greatly over time and a simple clean won’t remove resin buildup from daily usage. Ironically this is par for the course with the Firefly 2 and Firefly 2+. I have drawn comparisons with on demand convection vaporizers such as the Firefly 2+ and Ghost MV1 to Ferraris which need as much upkeep as a 1920s model T.

Having a few Firefly 2 vaporizers laying around the warehouse, I noticed that some Firefly 2’s performed better than others, under the exact same conditions. I had cleaned them all as good as possible (without disassembling) and even tried using a small pin to open up the clogged holes on the heating element plate. To no avail – I could not get my dirty Firefly 2’s to function to their former glory.
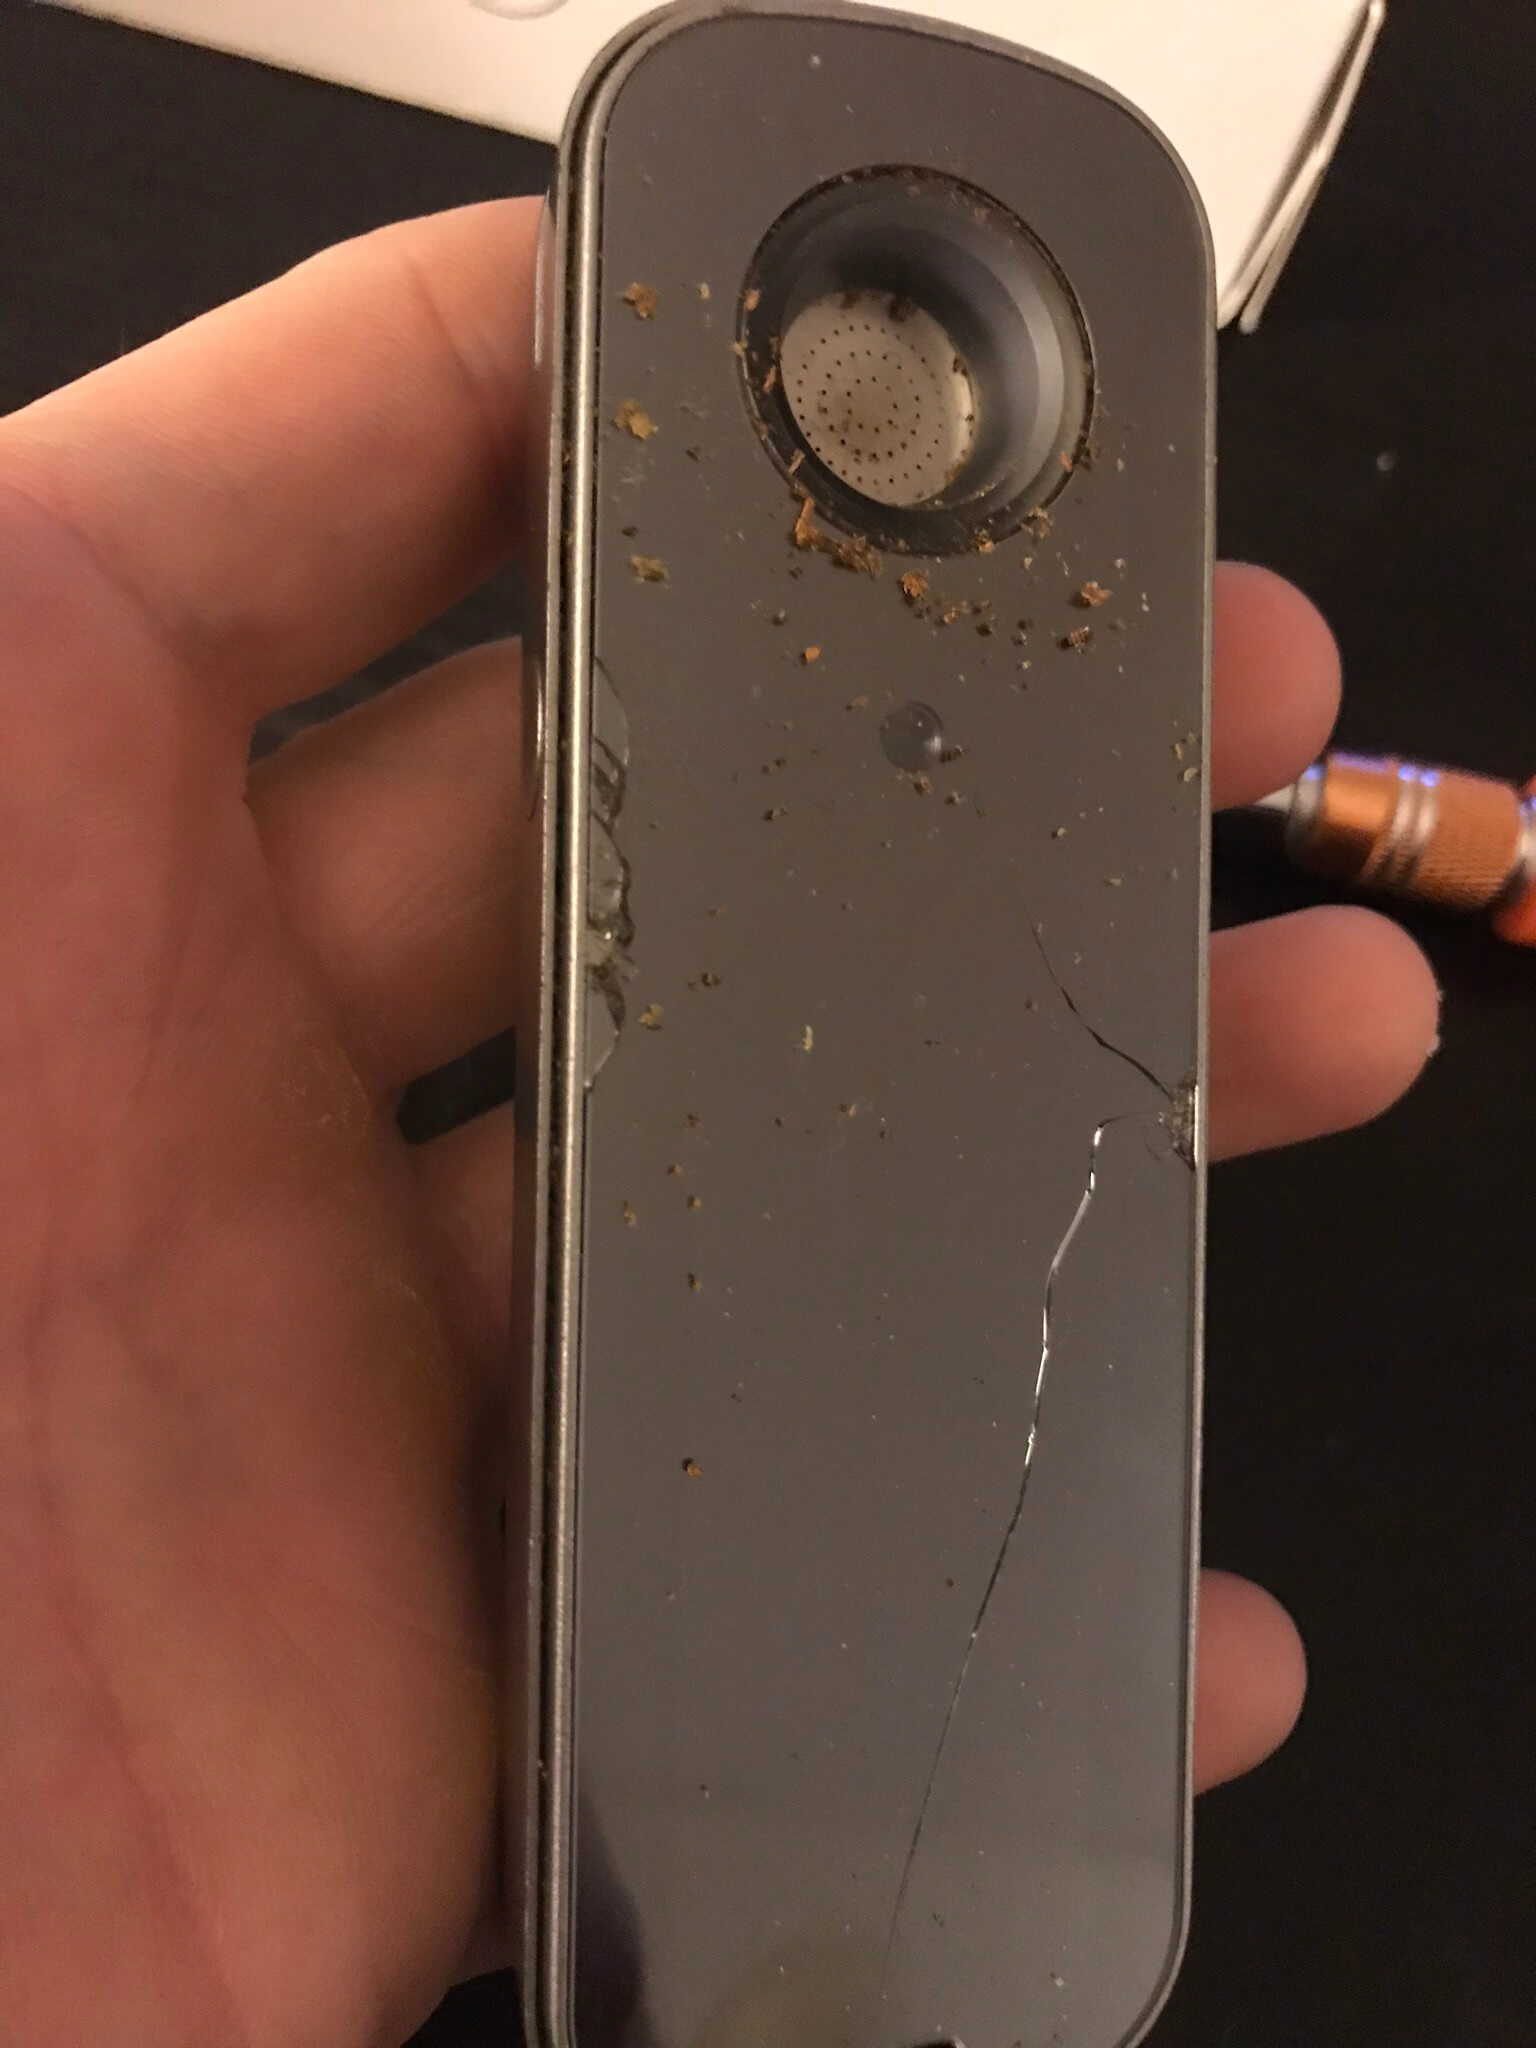
One Firefly 2 in particular had a majority of the heating element cover holes plugged and heavy draw resistance, which made it feel like no air was flowing through. As you can imagine the vapor output was abysmal. Writing this Firefly 2 off as a goner I decided to disassemble it and try to find out why this stubborn unit was performing so much worse than some of the other ones I had lying around.
What I found was disassembling and deep cleaning some of the individual components brought my Firefly 2 back to life as if it were fresh out of the box. Now do be aware this will void your warranty and a deep clean of this nature is seldom needed if you do regularly scheduled maintenance and do not hit the concentrates in your Firefly 2+ too often.
You can take apart the entire unit using only a Torx T6 screwdriver. The biggest areas to focus on will be the Firefly 2 mouthpiece screen and the heating element component to include the borosilicate glass bowl.
Step 1.) Remove the battery cover and battery. There will be 5 screws. Do make sure to keep the 3 screws from the top separate from the 2 screws on the bottom of the unit. This will uncover the heating element protection. Remove and place aside.

Step 2.) Next you will want to remove the heating coil, again using the Torx T6 unscrew fastener which connects the coil to the circuit board.

Step 3.) Push the Herb chamber group down from the top with your finger. The entire group will come out.
.

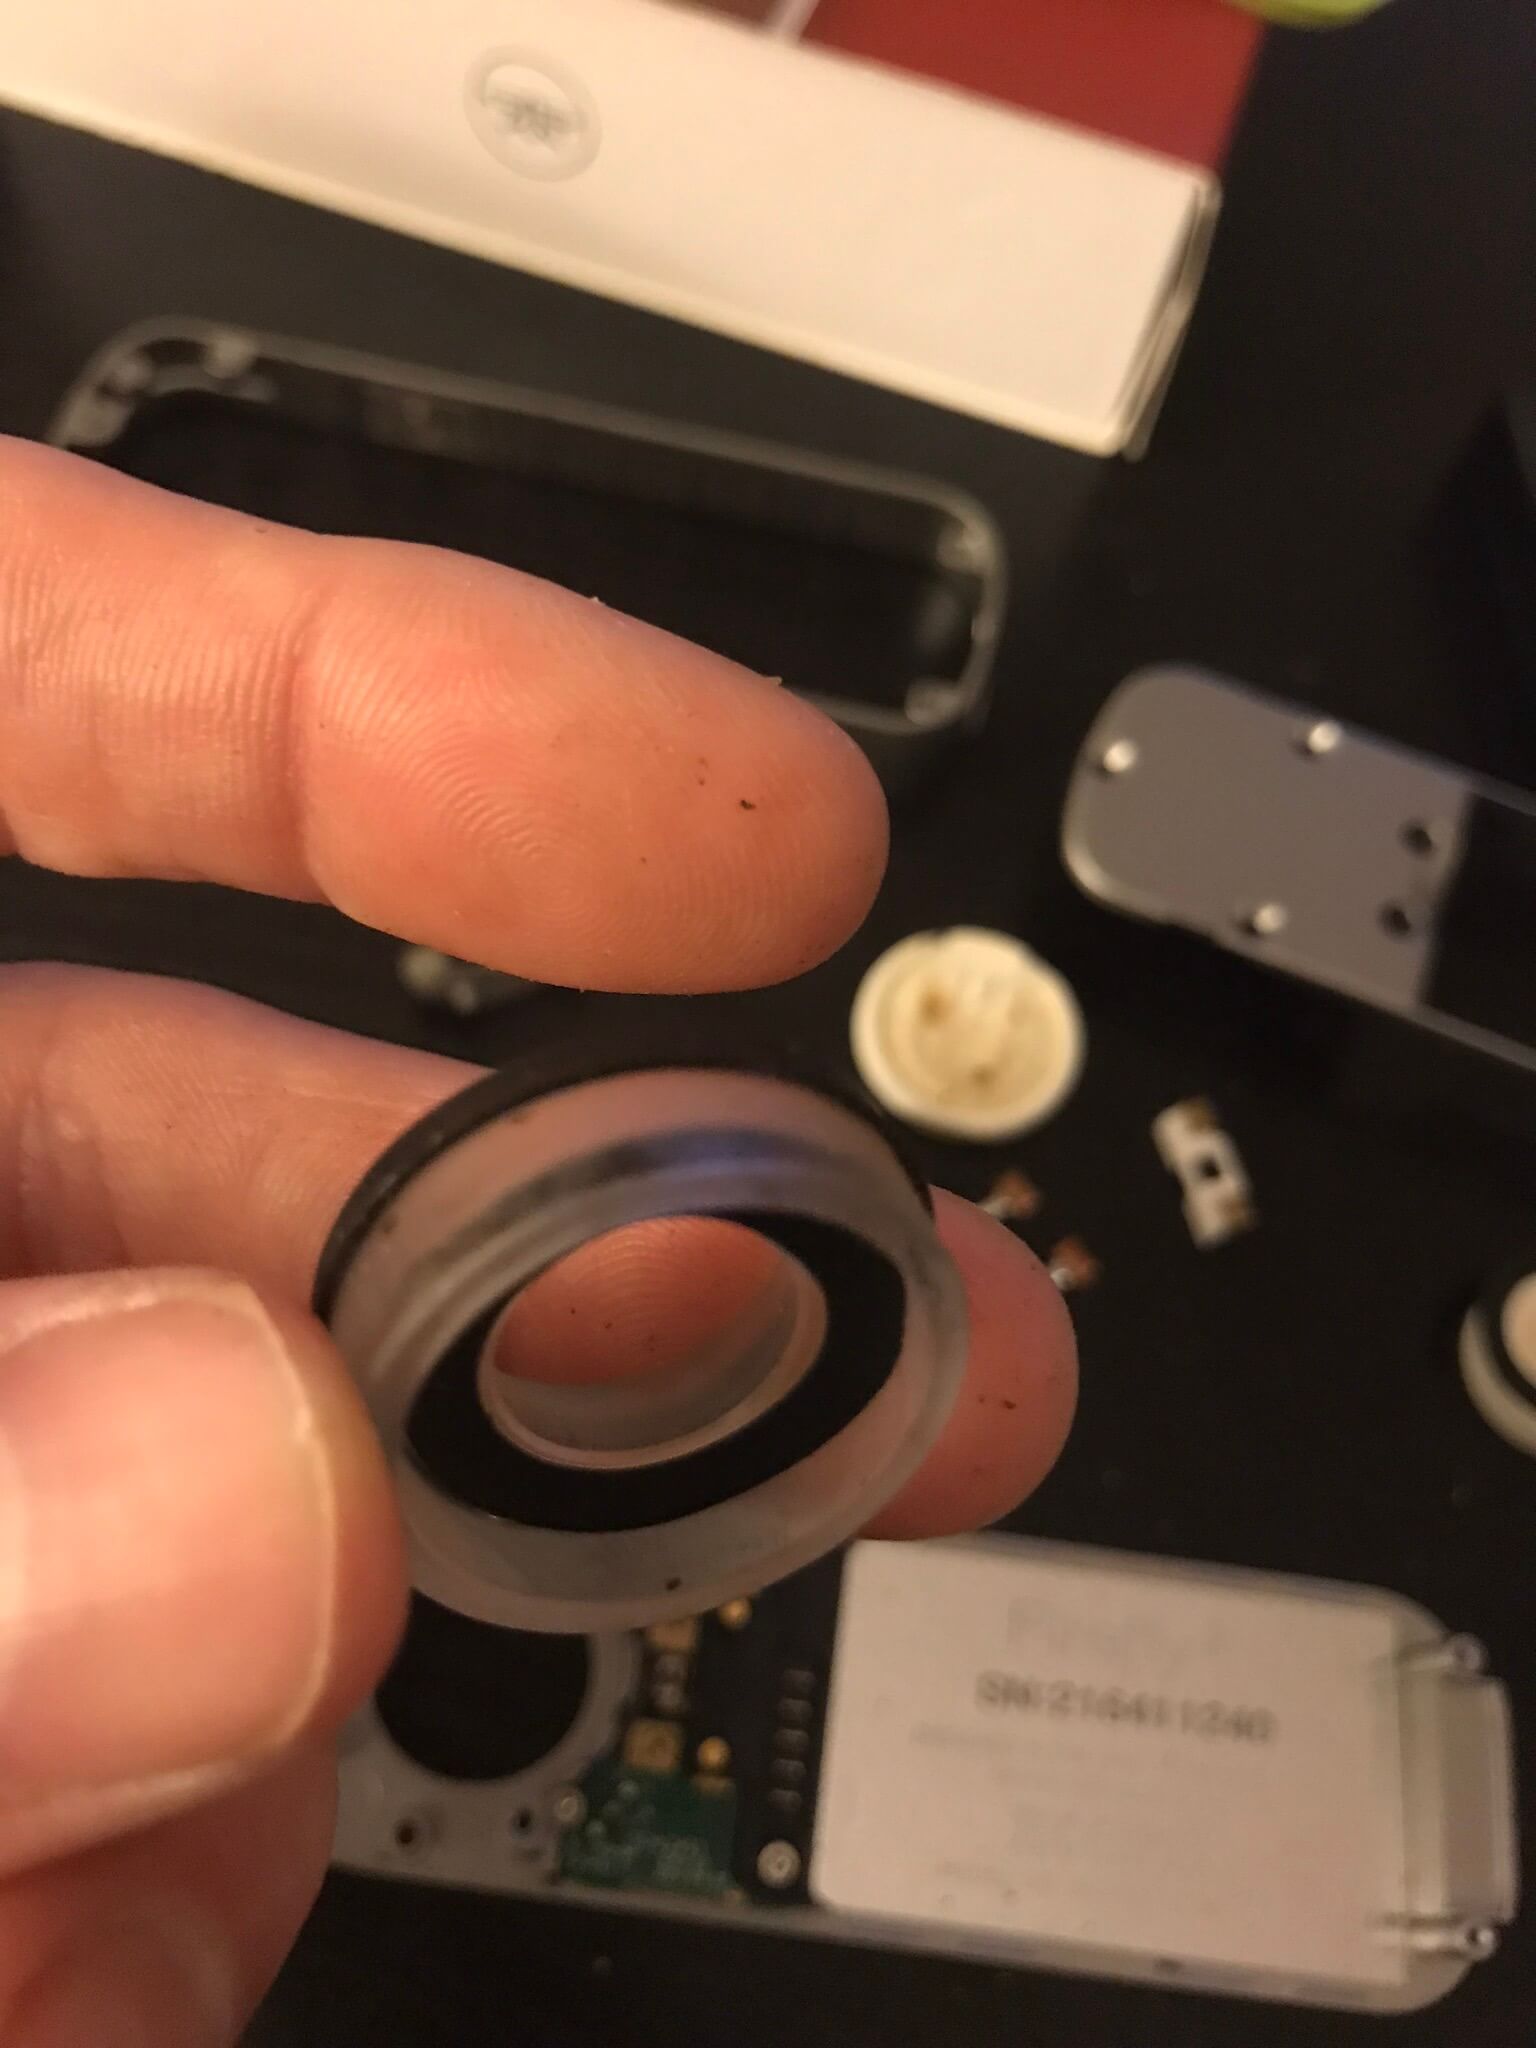
Step 4.) Remove the metal heating plate from the glass part of the chamber.

The metal heating plate with the micro drilled holes is what you really want to focus on. I soaked this in some 99% isopropyl and then hit with a toothbrush and pin to make sure I got all the holes 100% clear of any particles or resin. The holes are so tiny you will want to hold this up to the light to make sure you have it as clear as can be.
Using an Iso soaked Q tip you will also want to clean the buildup off the ceramic glass chamber. When you reassemble the herb chamber. Removing this build up will increase overall airflow on the sides , which is equally as important as freeing up the micro drilled holes on the metal plate over the heating coil.
Using an Iso soaked Q tip you will also want to clean the buildup off the ceramic glass chamber. When you reassemble the herb chamber. Removing this build up will increase overall airflow on the sides , which is equally as important as freeing up the micro drilled holes on the metal plate over the heating coil.
This is pretty much the bread and butter of enhancing the airflow
Putting it all back together correctly can be a daunting task if you are not too technically inclined. Thankfully for us at To the Cloud Vapor Store we have a mechanical engineer who is a UC Berkeley graduate who lends us a helping hand.

Step 5.) Reassemble the herb chamber group and place upwards into bottom of disassembled unit.

Step 6.) Align the heating coil conduction step bridge up correctly and drop in to place. (see photo) This is important to make sure heating coil will trigger.

Step 7.) Line up the heating coil and fasten. (see step 2 photo)
Step 8.) Place the heating element grounder/ insulator in place.

Step 9.) Input the bottom shell and screw back in place.

It was amazing the difference this deep clean made in draw resistance and vapor production. With these on demand convection vaporizers the air flow is so important and when it is restricted the vapor production is hard to come by and gives terrible user experience.
This harkens back to our statement on these high end portable on demand convection vaporizers having the capability to be the best vaporizers on the market, but only under the right conditions. Alot of individuals would rather not deal with the upkeep , cleaning and user precision needed to nail down a perfect session. There are a plethora of great vaporizers out there and To the Cloud Vapor Store is happy to offer a trial period with every vaporizer sold to make sure you find the right one for you or if you want to try them all.